
Homemade Peanut Butter Cups
Homemade peanut butter cups carry a special warmth for me, a sweet reminder of childhood treats. I fondly remember making them with family during weekends, the smell of melting chocolate wafting through the kitchen. There’s something magical about mixing creamy peanut butter with rich chocolate that creates a delicious hug for your taste buds. This recipe matters because it’s simple but brings so much joy and nostalgia. You can enjoy these delightful bites anytime, without going to the store. What makes this recipe special is how customizable it is. You get to be the chef and create something that’s just perfect for you.
Why Make This Recipe
Making homemade peanut butter cups is rewarding and fun. The joy of crafting your favorite treat from scratch can be a wonderful experience, especially when you get to share it with friends and family. You can control the flavors and sweetness, tailoring it to fit your personal taste. Plus, it’s a great activity for both kids and adults, making it a perfect weekend project. Once you try these homemade delights, you’ll wonder why you ever bought the store-bought version.
How to Make Homemade Peanut Butter Cups
Ingredients
- 1 cup peanut butter
- 1/2 cup oat flour
- 1/4 cup maple syrup
- 1/2 cup dark chocolate chips
- Pinch of salt
Directions
- In a mixing bowl, combine peanut butter, oat flour, maple syrup, and a pinch of salt until well blended.
- Melt dark chocolate chips in a microwave or double boiler.
- Line a muffin tin with cupcake liners.
- Pour a layer of melted chocolate into the bottom of each liner.
- Add a spoonful of the peanut butter mixture on top of the chocolate.
- Cover with more melted chocolate until the peanut butter is completely sealed.
- Refrigerate for at least 30 minutes until set.
- Enjoy your homemade peanut butter cups!
How to Serve Homemade Peanut Butter Cups
Serve the peanut butter cups chilled for the best texture. You can remove them from the muffin tin and serve them on a plate. They are perfect for parties or as a simple dessert after dinner. You can also pair them with a glass of milk or a cup of coffee for a delightful snack.
How to Store Homemade Peanut Butter Cups
To keep your peanut butter cups fresh, store them in an airtight container. You can keep them in the fridge for up to a week. If you want to keep them longer, they can be frozen. Just wrap each cup in plastic wrap and place them in a sealed bag. They can last for a few months in the freezer.
Tips to Make Homemade Peanut Butter Cups
- Use natural peanut butter for a healthier option.
- Make sure to melt the chocolate slowly to avoid burning it.
- Adjust the sweetness by adding more or less maple syrup based on your preference.
- Try adding a sprinkle of sea salt on top for an extra flavor boost.
Variation
Feel free to experiment with different nut butters, like almond or cashew butter. You can also add shredded coconut, crushed nuts, or even a layer of jam for extra flavor.
FAQs
Can I use milk chocolate instead of dark chocolate?
Yes, you can! Just keep in mind that it will be sweeter than using dark chocolate.
Can I make these peanut butter cups vegan?
Absolutely. Use dairy-free chocolate chips and a suitable sweetener to keep it vegan.
What if I don’t have oat flour?
You can make your own oat flour by blending rolled oats in a blender until fine. Alternatively, you can use almond flour or all-purpose flour.
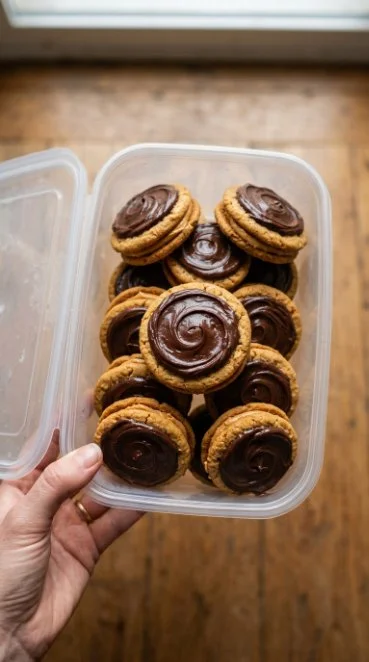
Homemade Peanut Butter Cups
Ingredients
Method
- In a mixing bowl, combine peanut butter, oat flour, maple syrup, and a pinch of salt until well blended.
- Melt dark chocolate chips in a microwave or double boiler.
- Line a muffin tin with cupcake liners.
- Pour a layer of melted chocolate into the bottom of each liner.
- Add a spoonful of the peanut butter mixture on top of the chocolate.
- Cover with more melted chocolate until the peanut butter is completely sealed.
- Refrigerate for at least 30 minutes until set.
- Enjoy your homemade peanut butter cups!