
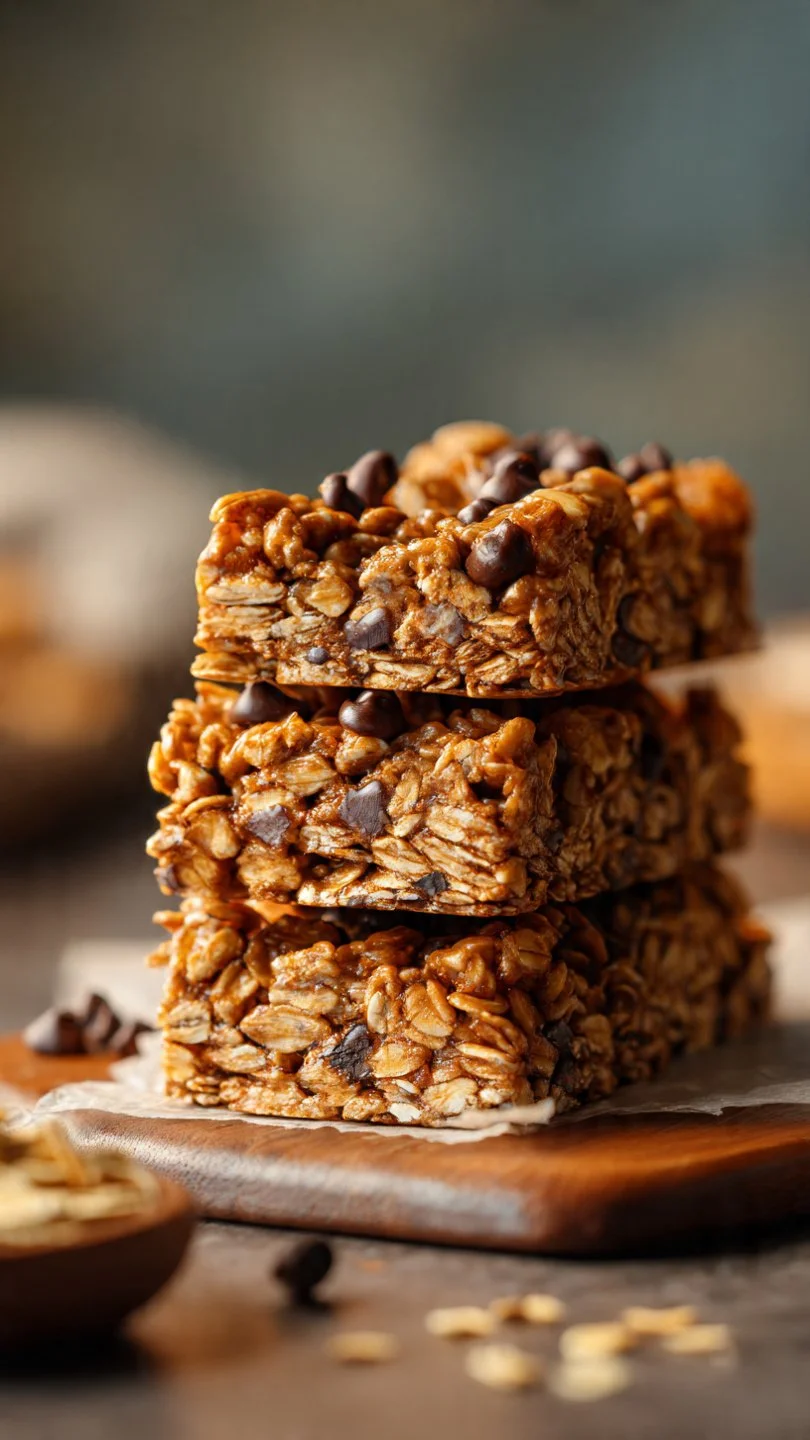
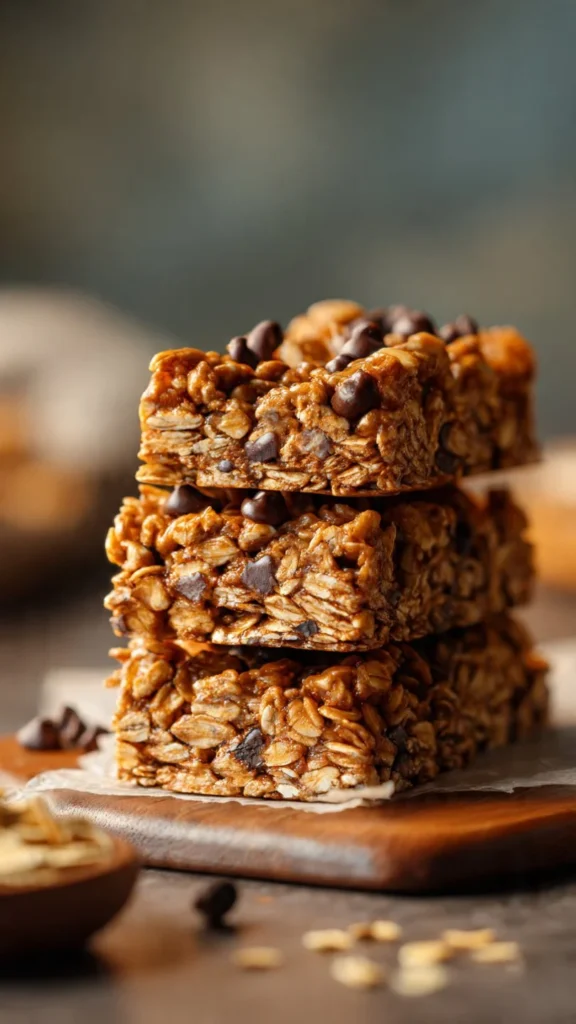
Homemade No-Bake Granola Bars
Every time I feel the afternoon slump creeping in, I remember the delight of biting into a chewy granola bar filled with unexpected flavors and crunchy nuts. Making these bars at home is not just about saving money; it’s a comforting ritual. You can control what goes into them, and they can be made exactly as you like. I often involve my kids, and we have fun mixing everything together. With this simple recipe, you can enjoy a tasty snack that’s packed with goodness. What makes these bars special is their versatility—you can add your favorite ingredients to make them just right for you.
Why Make This Recipe
Homemade no-bake granola bars are a wholesome and quick snack that everyone in the family will love. By making them yourself, you can avoid additives and excess sugar often found in store-bought versions. They are perfect for breakfast on the go, a midday snack, or a sweet treat after dinner. Plus, you can customize the ingredients to suit your taste and dietary needs.
How to Make Homemade No-Bake Granola Bars
Ingredients
- 2 cups oats
- 1 cup nut butter
- 1/2 cup honey
- 1/2 cup chocolate chips (optional)
- 1/2 cup dried fruits (optional)
- 1/2 cup seeds (optional)
Directions
- In a mixing bowl, combine oats, nut butter, and honey.
- Add any optional ingredients like chocolate chips, dried fruits, or seeds.
- Mix well until everything is combined.
- Press the mixture firmly into a lined baking dish.
- Chill in the refrigerator for at least 1 hour.
- Cut into bars and enjoy.
How to Serve Homemade No-Bake Granola Bars
These no-bake granola bars are great on their own as a snack, but you can also serve them with a dollop of yogurt or fresh fruit for breakfast. They pair nicely with a cup of tea or coffee in the afternoon. Feel free to pack them in lunchboxes for a healthy treat!
How to Store Homemade No-Bake Granola Bars
Store these granola bars in an airtight container in the refrigerator. They will stay fresh for up to two weeks. If you want to keep them longer, you can freeze them. Just wrap each bar individually in plastic wrap, then place them in a freezer-safe bag. They will last for around three months in the freezer.
Tips to Make Homemade No-Bake Granola Bars
- For a crunchier texture, lightly toast your oats before mixing.
- If you don’t have nut butter, you can substitute it with sunflower seed butter or a seed butter of your choice.
- Experiment with different mix-ins like coconut flakes or protein powder for added nutrition.
Variation
You can easily change this recipe by using different sweeteners or nut butters. Try maple syrup instead of honey or almond butter instead of peanut butter. You can also swap out the nuts and fruits based on what you have at home or your personal favorites.
FAQs
1. Can I make these granola bars nut-free?
Yes! You can use seed butter or simply omit the nut butter and replace it with an equivalent amount of coconut oil.
2. How can I make the granola bars gluten-free?
Make sure to use certified gluten-free oats.
3. Can I add protein powder to my granola bars?
Absolutely! You can mix in a scoop of protein powder for an extra boost. Just balance it with a bit more nut butter to keep the consistency right.
Homemade No-Bake Granola Bars
Ingredients
Method
- In a mixing bowl, combine oats, nut butter, and honey.
- Add any optional ingredients like chocolate chips, dried fruits, or seeds.
- Mix well until everything is combined.
- Press the mixture firmly into a lined baking dish.
- Chill in the refrigerator for at least 1 hour.
- Cut into bars and enjoy.